Age
3rd - 6th Grade
Objectives
Materials
Getting Started
Working with the Artist/Naturalist
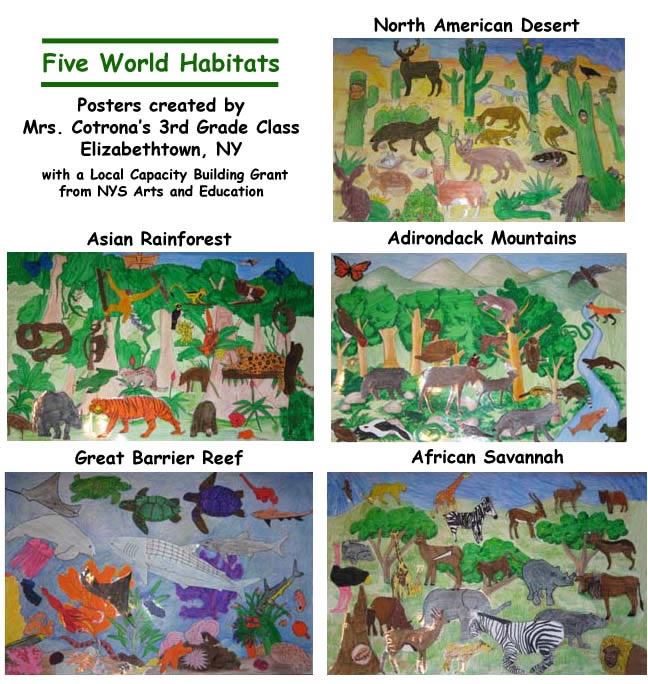
DAY ONE: The first day that we worked with the artist/naturalist, she showed us a slide presentation about each of the habitats we chose. This helped introduce the habitats the students would research and the animals and plants in each. We talked about food webs and conservation issues surrounding their habitats. Then the artist worked with each group for an hour helping them sketch their habitat backgrounds in pencil on the large format poster boards.
For each habitat group the artist worked with the kids to draw background traits like grass and acacia trees for African savannah; mountains, trees and rivers for the Adirondack mountains; saguaro, prickly pear and barrel cactus for the Sonoran desert, etc.) As we worked, she talked to the students about what the habitats needed to support animal life, i.e. biotic and abiotic factors, the producers and consumers in each, etc. She also talked to them about taking their time and doing their best work. Then they moved on to using color markers and began coloring their habitat backgrounds.
Working on Their Own
Students were given time in class over the next two weeks to continue researching their animals and finding pictures of them. They also researched and developed short animal reports for each of their five animals. They relied heavily on the animal database.
Drawing Animals
DAY TWO AND THREE: The artist’s next two days with the students, they brought in their animal pictures and she showed them how to trace their animals’ shapes and then add traits, like fur, manes, antlers and wrinkled skin. As they worked, they talked about how their physical traits suited their lifestyle in their habitats, i.e. camouflage for survival, claws and teeth for predation, long legs for leaping, webbed feet for swimming, etc. Students then colored their animals with markers and colored pencils. Again, the artist worked with students to take their time and do their best work. Over the next two weeks students were given time to finish illustrating their animals. The teacher laminated the animals and students (with help from their teacher) cut them out.
DAY FOUR: On the artist’s fourth day with the students, they finished any stray animals left to do and completed the habitat poster backgrounds. Then they took some time to lay the animals out and decide where each fit into their habitat. As they worked, the students talked about what their animals’ diets and habitat needs were. Later, after their teacher had time to laminate the completed posters, students would use peel and stick Velcro dots to secure their animals to the places on the poster where they decided each animal would be.
Displaying Their New Knowledge
Assessments and Outcomes:
Students were evaluated at several stages of this project. Their written animal reports were evaluated for both science content and ELA accuracy, as were their oral presentations.
Their science fair entrees were evaluated as a demonstrative whole.
They fulfilled both Science content and ELA standards by reading about, writing and reporting orally on their animals and habitats.
There were several expected outcomes from the project and some unexpected ones.
Some expected results were:
1. As expected, students became very familiar with their habitat and animals. This was enhanced by students talking about their animals and their survival needs in their habitat poster groups and later in oral reports, at the open house, and at science fair. This also allowed other students in their group, class and school to learn about the animals and habitats.
2. The students grew more competent at doing online research and at writing about their topic without plagiarizing.
3. They learned to cite their research.
4. They learned to be more organized as they put all the pieces together.
5. They had their first experience doing oral reports. They gained confidence at speaking in front of a group.
6. They became interested in the conservation concerns of their habitats (i.e. cactus poaching in the Sonoran Desert, deforestation, etc.)
Some unexpected results were:
1. Students had a significant increase in motor skills achieved by drawing and coloring their animals and developing their habitats. Students spent many hours creating patterns (grass, water, sand, fur, etc.) and blending colors. They worked carefully to display their very best work and witnessed how this improved the quality of their work.
2. They gained confidence in both their drawing skills and their ability to improve any skill with practice.
3. They gained confidence in speaking in front of others.
4. The students in second grade asked repeatedly if they would be doing this project when they reached 3rd grade!
When you research information you must cite the reference. Citing for websites is different from citing from books, magazines and periodicals. The style of citing shown here is from the MLA Style Citations (Modern Language Association).
When citing a WEBSITE the general format is as follows.
Author Last Name, First Name(s). "Title: Subtitle of Part of Web Page, if appropriate." Title: Subtitle: Section of Page if appropriate. Sponsoring/Publishing Agency, If Given. Additional significant descriptive information. Date of Electronic Publication or other Date, such as Last Updated. Day Month Year of access < URL >.
Amsel, Sheri. "Learning About Habitats with a Local Naturalist or Artist" Exploring Nature Educational Resource ©2005-2024. December 13, 2024
< http://www.exploringnature.org/db/view/Learning-About-Habitats-with-a-Local-Naturalist-or-Artist >