Age: 4th to 6th Grade, 7th to Adult.
Objectives:
This is also an activity that improves observation, team building, and awareness of the natural world.Younger students may not have as complex designs, but can still create an interesting array of objects. This activity, in addition to being a natural science collection, is also an exercise in observations, spacial relationships and manipulating objects not unlike creating an artistic collage. Students will collect specimens for and put together an observational box using found objects, that are naturally occurring, from school grounds, yards and local natural areas (forests, fields, etc.) to build a display that will teach about the local natural environment. In doing so they will identify local species, learn to design a demonstrative science activity and exercise their own artistic and spacial skills.
Materials:
- Gallon sized plastic bags for collecting objects.
- Student shoe boxes from home (mention this the first week of school when they have been purchasing new shoes). If this proves difficult, large, heavy duty paper plates will work.
- Elmers glue (a hot glue gun works great, but poses a risk of burning, so only the teacher or a parent volunteer should be to be the person using this tool).
- Old newspapers, to go down under displays when building.
- Tree, insect and wildflower field guides for students to identify the things they are using to build their Earth Boxes.
Procedures:
- Take students outside to do a sample collection and demonstrate the types of things that are acceptable to collect. Identify things that they should avoid, like dangerous plants, animal scats, live wasp nests and litter. Also identify things that they should not collect because of the Migratory Birds Act (feathers and birds nests).
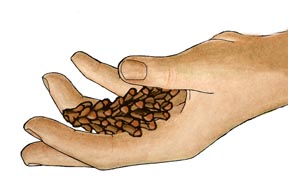
- Collect just 1 or 2 each of seeds, nuts, pebbles, sand, lichens, moss, sticks, bark, dried plant and fungus parts, and animal signs (quills, fur, nibbled things). Leave some for others.
- Always wash hands after handling objects!
- Give students time to collect on a nice afternoon. They can work in teams to save resources.
- When parts are collected, take a block of time for their Earth Box assembly. Talk to them about their goal, which is to create a display that will interest viewers and create a kind of nature puzzle. Cover their desks with newspaper before gluing.
- Have students make a series of search and find lists for their display, i.e. find the 10 seeds, find the 6 plant parts, find the 3 nonliving things, etc.
- Students can then test other students, groups, classes using their displays.
Discussion: Ask students if this activity has:
- made them more aware of the living and nonliving things outside all around them.
- made them more observant of things in the natural world.
- been a creative and enjoyable activity.